Why Arbi Is the Ultimate Monsoon Veggie for Home Gardeners (And How To Start)
If you’ve ever relished a plate of spicy Arbi curry on a rainy day, you know how comforting this humble root can be. Now imagine pulling those same roots from your own garden, washing them with your hands and then adding the spices while the aroma slowly fills the room! Colocasia, better known as arbi in most Indian kitchens, is one of the easiest vegetables to grow during the monsoon.
It may not look fancy, but it’s fuss-free, doesn’t need a lot of space, and loves the rain just as much as we do during monsoons. Whether you have a backyard, a terrace, or a few large pots, growing arbi can be a satisfying experience for beginners and seasoned gardeners alike.
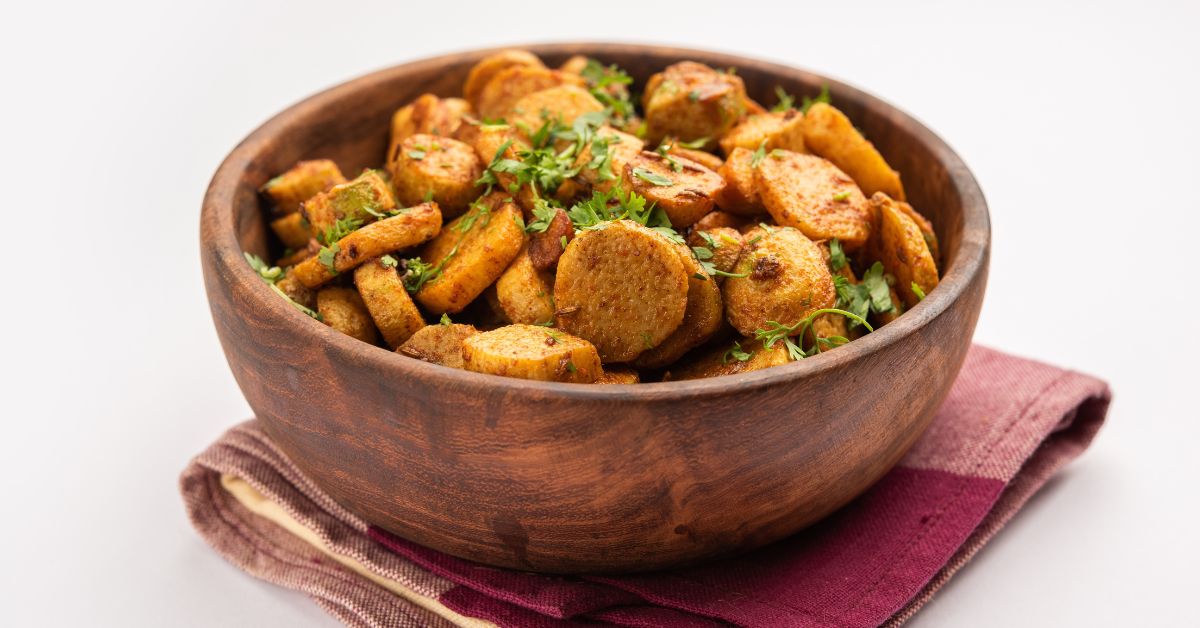 A bowl of spicy home-grown Arbi curry is a must this monsoon. Picture source: Shutterstock
Here’s a simple 10-steps guide to help you grow arbi at home.
1. Pick a partly shady spot
Arbi grows best in places that get some sunlight but are not too hot. A spot that gets morning sun and some shade in the afternoon works well. However, avoid exposing it to full sun all day, it can dry out the soil too fast. If you live in a very hot region, planting arbi near taller plants or under a light canopy can provide the dappled shade it prefers.
2. Get healthy arbi corms
You don’t need seeds to grow arbi. Just get a few arbi corms (the thick root-like parts) from your local market or nursery. Pick the ones that are firm, not soft or mouldy. If they already have small shoots coming out, even better! Healthy corms are the foundation of a strong plant, so take your time picking the best ones.
3. Soak the corms overnight
Before planting, place the corms in a bowl or bucket of clean water and leave them to soak overnight. This does two things: softens the outer layer, making it easier for the shoot to break through and triggers the corm to wake up from dormancy and begin sprouting faster.
After soaking, drain them and plant them the next day.
4. Make the soil rich and soft
Arbi thrives in soil that’s loose, well-drained, and full of nutrients. Prepare the soil as follows:
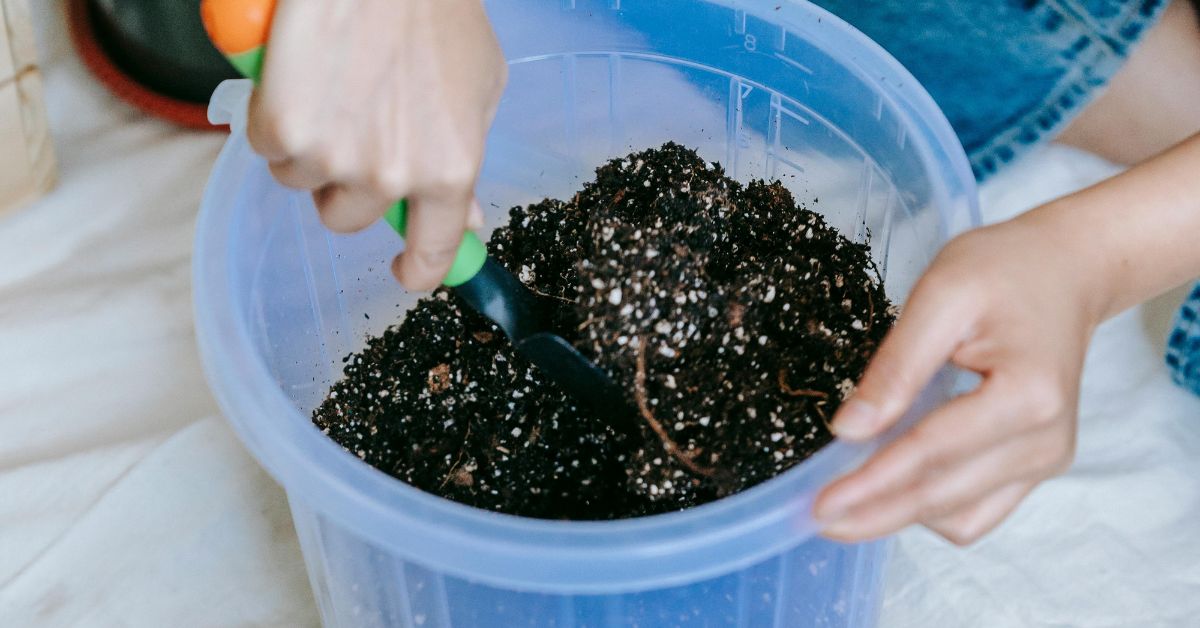 Preparing the soil is an important part while growing Arbi. Picture source: Pexels
- Mix equal parts of garden soil and compost or well-rotted cow dung.
- If your soil is heavy or clay-like, add sand or cocopeat to improve drainage.
- Break up any clumps and remove stones to let the roots grow freely.
Soft, fertile soil helps the plant develop larger, healthier corms underground.
5. Plant each corm four to six inches deep
Dig small holes about four to six inches deep. Place one corm in each hole with the bud side (the pointy part) facing up. Cover it with soil and leave at least one foot of space between each one so the plants don’t get crowded, thus reducing the risk of diseases
6. Keep the soil moist
Arbi loves moisture, especially in the early stages. After planting, water the area well. If it’s raining regularly, you won’t need to water every day. But if there’s a dry spell, check the soil and water when the top feels dry.
7. Remove weeds and add mulch
Weeds will compete with your arbi for nutrients. Pull them out gently by hand. You can also cover the soil with dry leaves, grass, or straw. This mulch keeps the soil moist and reduces the number of weeds.
8. Feed the plant every few weeks
Every two to three weeks, add some natural fertilizer like compost or a mix of cow dung and water. This keeps the plant healthy and helps the roots grow bigger. You don’t need chemical fertilizers, natural ones work well and are safer.
9. Keep an eye out for pests
Check the leaves once a week for small bugs like aphids or mealybugs. If you see any, spray the leaves with neem oil or soapy water. Also, watch out for yellow or spotty leaves — that could mean a fungal infection. Remove such leaves early to stop them from spreading.
10. Harvest after four to five months
Arbi takes about four to five months to fully grow. When the leaves start turning yellow and droop, it’s time to harvest. Loosen the soil gently with a small spade or fork and lift out the corms. Don’t pull too hard, they can get damaged.
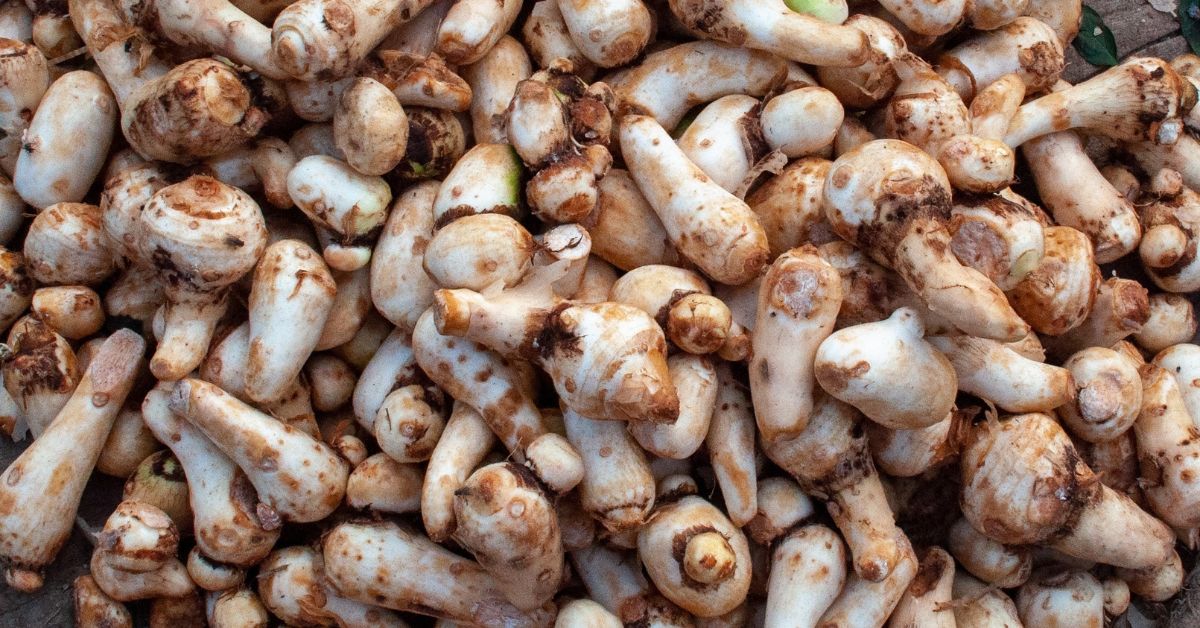 Arbi grows best during moist weather. Picture source: Shutterstock
Key Points to Remember
Start during the monsoon: Arbi loves rain and grows best in moist weather.
Never let the soil stay dry for too long: But also make sure it doesn’t become soggy.
Always cook arbi before eating: Raw arbi can irritate your throat and stomach.
Growing arbi is a low-effort, high-reward activity. It doesn’t need fancy tools or a green thumb, just some patience, rainwater, and a patch of soil. So the next time it pours outside, think about planting a little arbi. It might just become your favourite garden-to-plate veggie.
Edited by Saumya Singh
News