Turn a Balcony or Window Box Into a Coriander (Dhania) Garden With This Easy Monsoon Growing Guide
Coriander, also known as dhania, is a fragrant herb commonly used in kitchens worldwide. With the onset of the monsoon, it becomes a suitable time to grow this herb at home, owing to the favourable humidity and moderate temperatures.
Whether you are a gardening beginner or a green-thumbed enthusiast, this step-by-step guide will walk you through the process of growing coriander in your home garden or balcony.
Why is the monsoon ideal for growing coriander?
The monsoon season creates a natural environment that supports coriander’s growth cycle:
- Ample moisture: Frequent rainfall and increased humidity keep the soil moist, encouraging rapid seed germination and healthy root development.
- Gentle sunlight: Coriander needs sunlight, but intense summer heat can cause it to bolt (flower too early). The monsoon offers ideal filtered sunlight under cloudy skies.
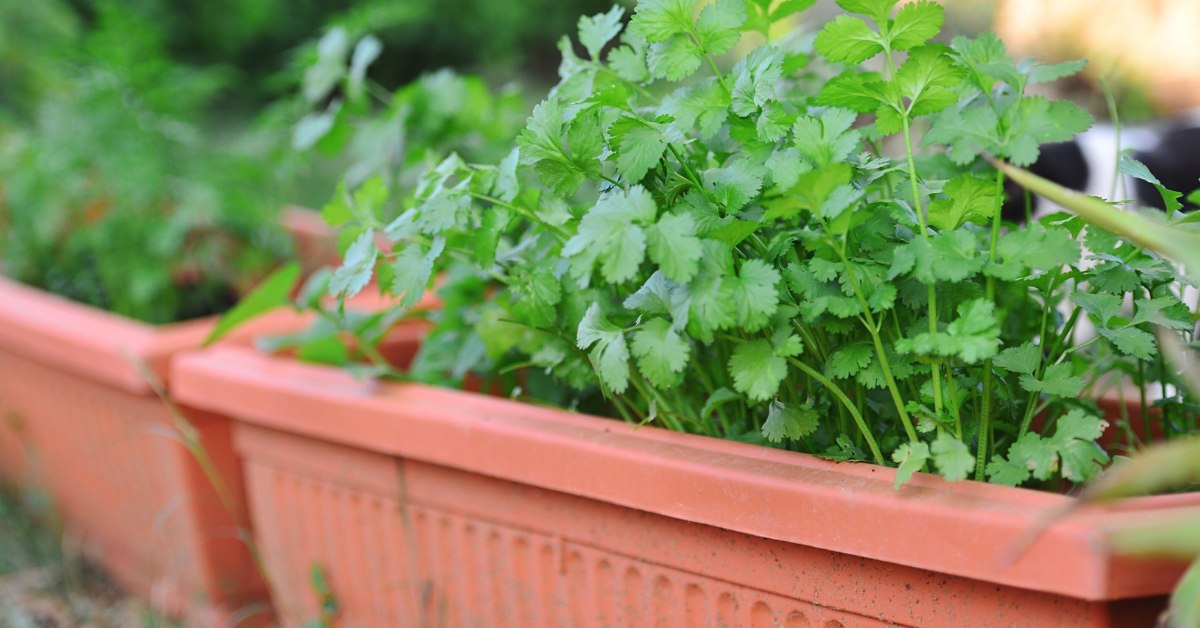 The monsoon season creates a natural environment that supports coriander’s growth cycle; Picture source: Country Living
- Cooler temperatures: Warm days and cooler nights during the rains reduce plant stress and promote leafy growth.
- Natural watering: While you will still need to monitor soil moisture, you won’t need to water as frequently due to rainfall.
What you will need
You do not need fancy equipment or a big backyard, just a few simple materials:
- Whole coriander seeds: Use good-quality seeds from a gardening store, or even whole seeds from your spice rack (avoid split or powdered seeds).
- Pots or containers: At least six inches deep with good drainage. Choose terracotta or wooden containers, depending on the available space.
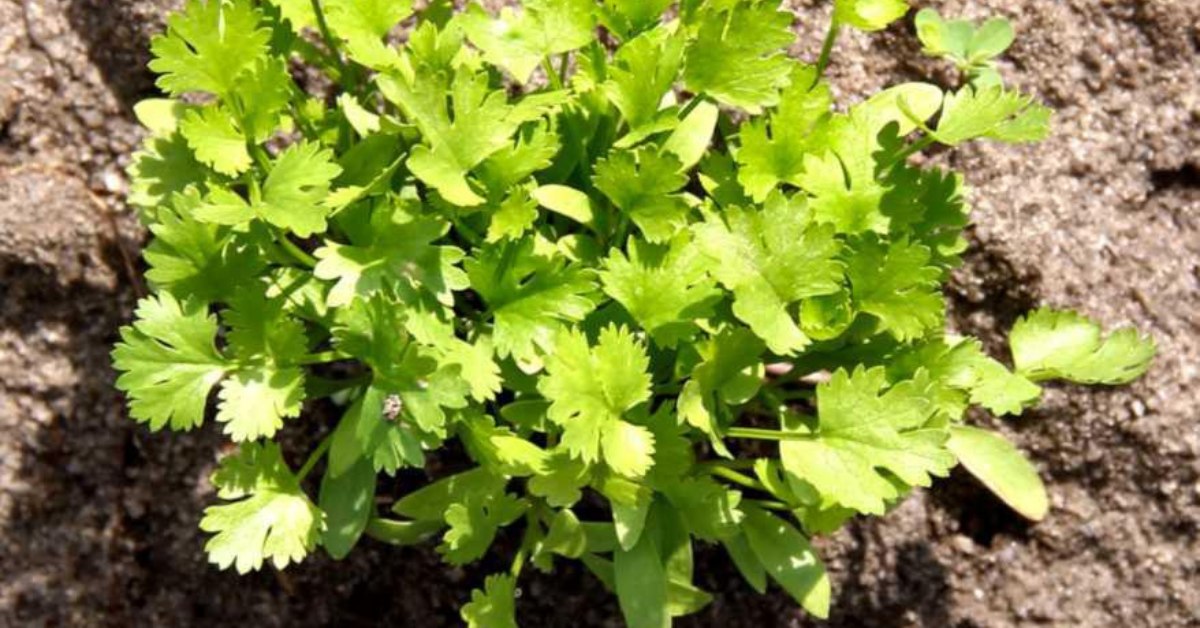 Use good-quality seeds from a gardening store, or even whole seeds to grow healthy coriander; Picture source: Nature & Garden
- Watering can/spray bottle: To gently water without displacing seeds.
- Shaded sunny spot: Choose a location that gets three to five hours of indirect sunlight. Balcony ledges or windowsills are perfect.
Step-by-step process to grow coriander at home
1. Preparing the seeds
Coriander seeds are not singular seeds, but rather two seeds enclosed in a husk. Planting them whole often results in uneven or delayed germination. To improve success, gently crush the seeds with a rolling pin or pestle until they split in half, taking care not to grind them into powder.
This step increases the chances of each seed sprouting. After splitting the seeds, soak them in a bowl of clean water for eight to 12 hours overnight.
This softens the husk, helping the seedlings emerge more easily. Once soaked, drain the seeds and allow them to rest on a damp towel or cloth for a few hours before planting.
 Choose a location in your home that gets three to five hours of indirect sunlight; Picture source: Krishi Jagran
2. Preparing the container
Choose a pot or planter that is at least six inches deep and has several drainage holes at the bottom. Coriander has long taproots, so depth is important.
Fill the container with a well-aerated potting mix consisting of garden soil, compost, and a little sand or cocopeat for proper drainage. Lightly water the soil before sowing so that it is evenly moist, not too wet, just damp to the touch.
3. Sowing the seeds
Spread the soaked seeds evenly across the surface of the prepared soil, leaving about an inch of space between each one to avoid overcrowding later. Press the seeds gently into the soil with your fingers, then cover them with a thin layer, just about one to two centimetres, of potting mix or compost.
Avoid burying them too deep, as coriander prefers to be sown near the surface. Once covered, water gently using a watering can with a fine spout or a spray bottle. This helps settle the seeds without washing them away.
4. Choosing the right spot
After sowing, place the pot in a location that receives bright but indirect sunlight for around four to six hours a day. Coriander loves light but not harsh midday sun.
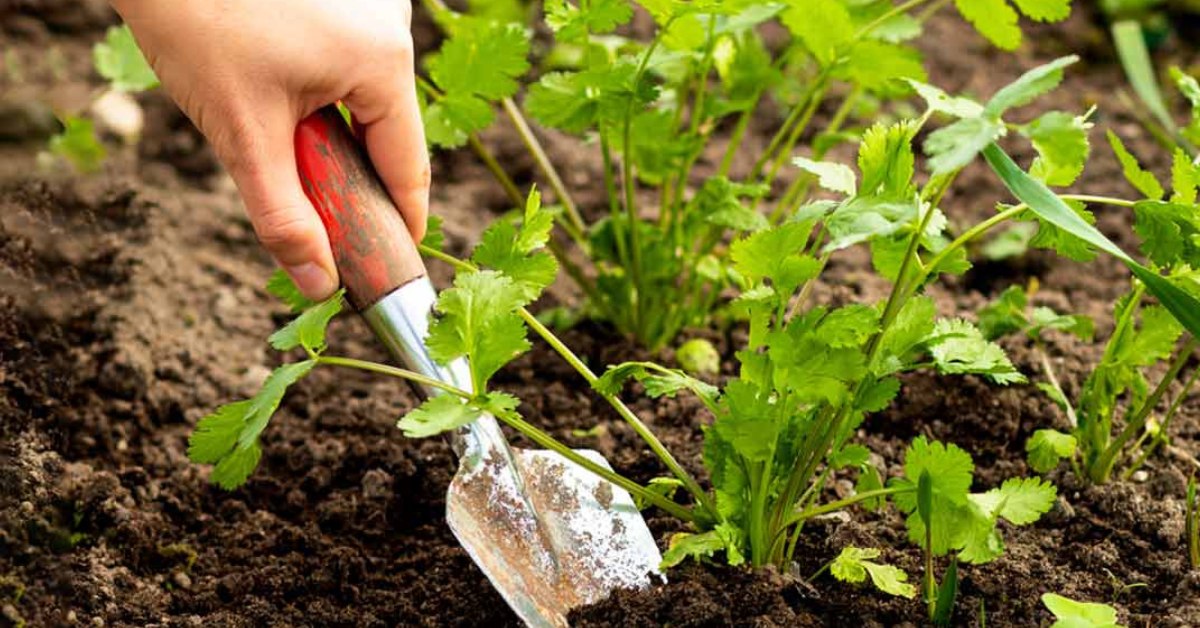 Avoid burying coriander too deep, as it prefers to be sown near the surface; Picture source: HerZindagi
During the monsoon, balconies or window ledges work well. If rain is heavy, move your pots under a shelter to protect them from being flooded or battered by water.
5. Germination and early growth
You should see the first green shoots emerging in seven to 10 days. During this germination period, keep the soil consistently moist but not soaked. Avoid watering from height or using strong streams of water, as this can disturb the delicate seedlings.
Once the seedlings are a few inches tall, usually at the two- to three-week mark, you may notice them growing closely together.
6. Thinning the seedlings
At this point, thinning becomes important. Gently remove the weaker seedlings by cutting them at the base, leaving about two inches between the remaining plants.
This allows each plant more space, light, and nutrients to grow strong and leafy. You can compost the thinned seedlings or even use them as microgreens in salads.
Caring for your coriander plant
Watering
Coriander likes moisture, but not soggy conditions. Water the plant when the top layer of soil feels dry to the touch. During the monsoon, natural rain may reduce your watering needs, but make sure excess water drains out to prevent root rot.
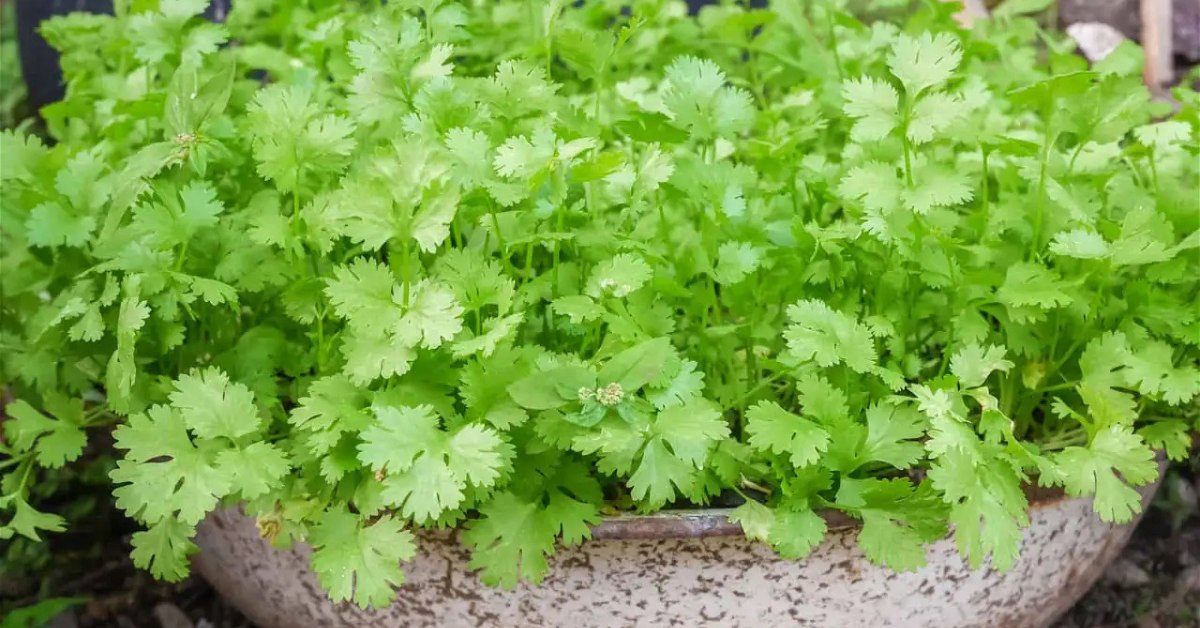
 Make sure your coriander plant receives bright but indirect sunlight to prevent damage; Picture source: Gardener’s Path
Fertilising
Although coriander does not require heavy feeding, giving it a boost with organic fertiliser every 10 to 14 days can effectively improve yield. Diluted compost tea, liquid cow dung, or seaweed extract are great options. Avoid synthetic fertilisers, which can disturb the plant’s delicate root system.
Pest management
Pests are less common in coriander, but aphids, slugs, or snails may show up in damp weather. Inspect your plants regularly, and spray neem oil once a week as a natural repellent.
If you see discoloured or damaged leaves, remove them to keep the plant healthy and avoid spreading disease.
How and when to harvest coriander
About three to four weeks after planting, your coriander will be ready for its first harvest. You will notice green leaves with that signature citrusy scent.
To harvest, use clean scissors to snip the outer leaves, allowing the inner ones to continue growing. Never cut the plant from the base unless you intend to remove it completely.
Always leave at least one-third of the plant intact to allow for regrowth. For ongoing supply, harvest little and often rather than in large batches.
If left too long, the plant will begin to flower and set seed, known as bolting. While this ends leaf production, you can allow one or two plants to flower so you can collect seeds for your next planting.
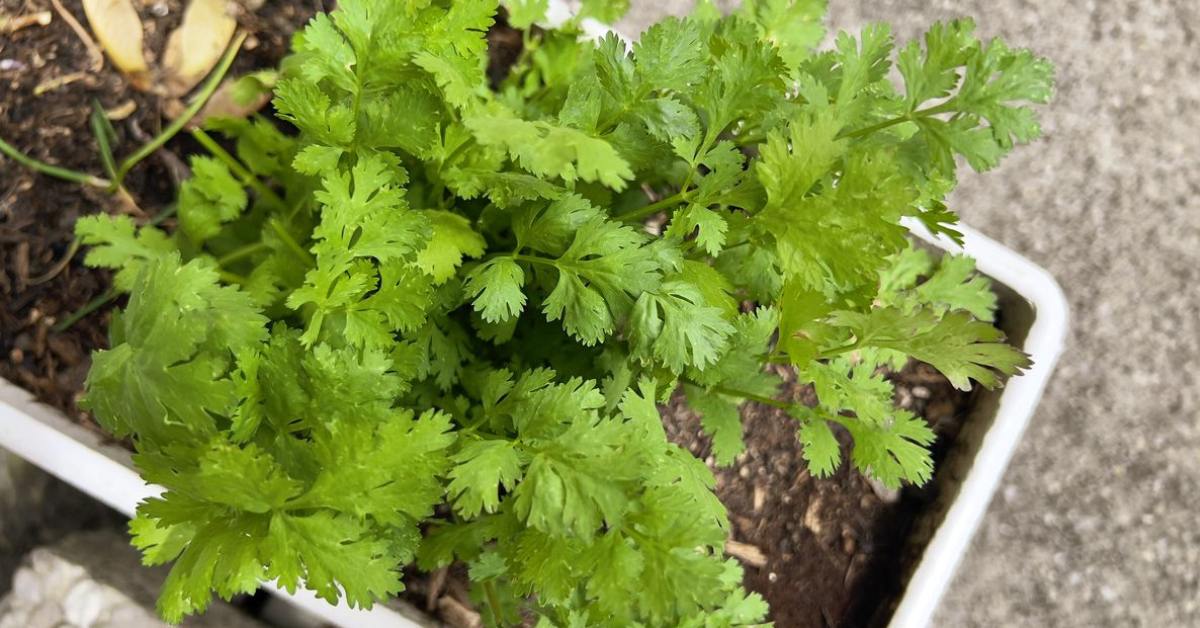 To harvest, use clean scissors to snip the outer leaves, allowing the inner ones to continue growing; Picture source: House Beautiful
Tips to keep in mind
- Sow in cycles: Plant a fresh batch of seeds every two to three weeks to maintain a continuous harvest throughout the season.
- Do not transplant: Coriander does not like being moved. Sow it where you want it to grow.
- Use fresh seeds: Older seeds may not sprout. Always test germination by soaking a few before planting a full batch.
News