A Smart Way To Beat LPG Price Hikes: Build Your Own Biogas Plant With This Step-By-Step Guide
If you’ve been looking for a way to cut down on your cooking gas bill, reduce your kitchen waste, and adopt a more eco-conscious lifestyle, setting up a biogas plant at home could be a game-changer.
When Union Petroleum Minister Hardeep Singh Puri recently announced a Rs 50 hike in LPG cylinder prices, it was a reminder of how vulnerable household budgets can be to fuel costs. But what if your everyday food scraps could help power your stove?
Biogas is a clean, renewable fuel created through the anaerobic digestion of organic waste. It not only offsets LPG use but also offers a sustainable way to manage kitchen waste — all from your own backyard.
What exactly is biogas?
Biogas is mainly a mix of methane (CH4) and carbon dioxide (CO2), produced when microorganisms break down organic matter in the absence of oxygen. This process also produces a nutrient-rich slurry known as digestate, which can be used as a natural fertiliser.
On a small scale, biogas is most commonly used for cooking. But depending on your setup, it can also power lights or generators.
Setting up a biogas plant at home
1: Choose the right type of biogas digester
Different homes need different solutions. Choose a digester that fits your space, budget, and effort level:
A. Fixed dome digester
- Underground chamber with a fixed gas space
- Long-lasting, low-maintenance
- Requires expert construction to ensure it’s leak-proof
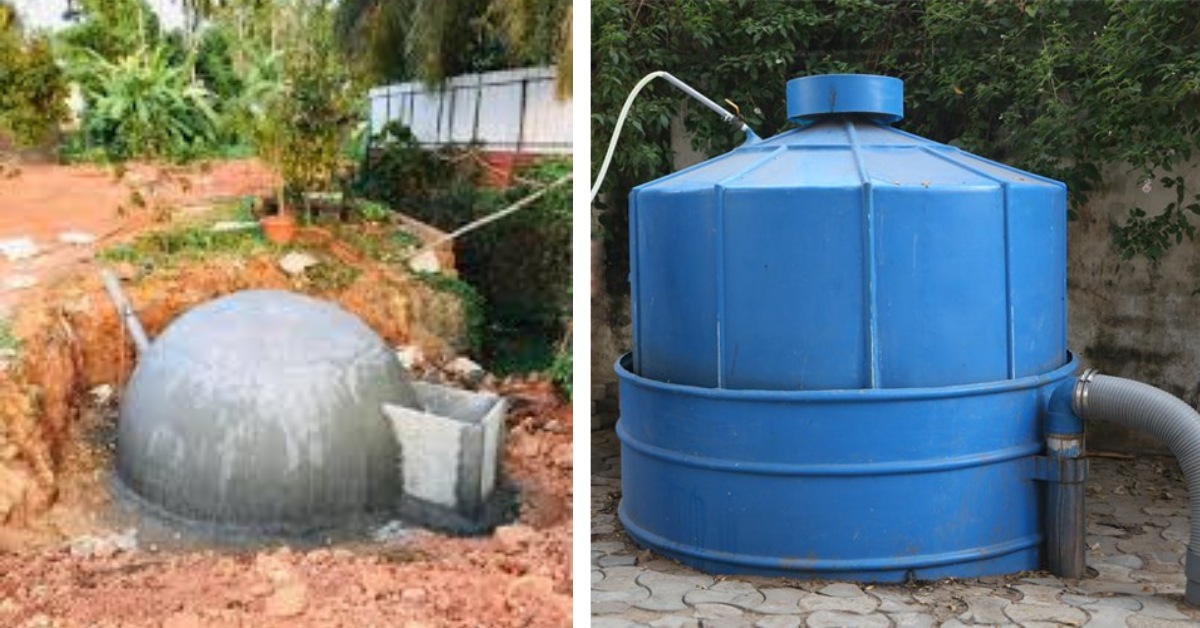 A fixed dome digester (on the left) is an underground chamber with fixed gas space, and a floating dome digester has a floating gas holder that moves with gas volume. Picture source: Indiamart
B. Floating drum digester
- A floating gas holder that moves with the gas volume
- Easy to monitor, moderate maintenance
- Suitable for DIY but needs occasional rust checks
C. Flexi-bag/plastic balloon digester
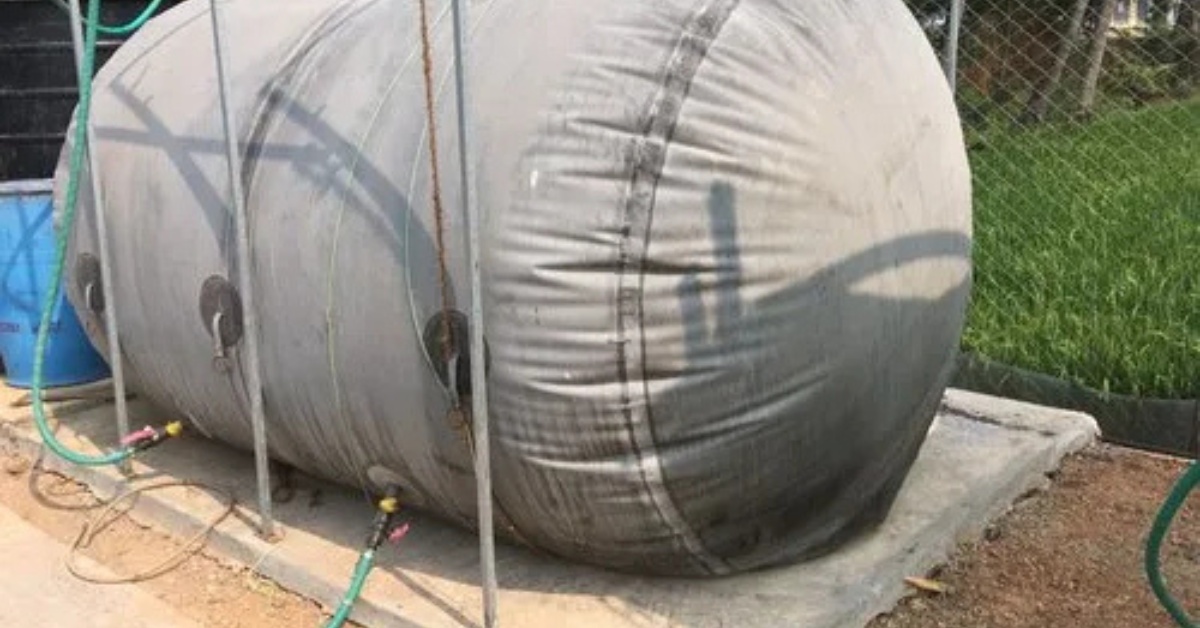 A floating bag digester is ideal for beginners. Picture source: Indiamart
- Made of PVC tarpaulin, portable and lightweight
- Ideal for beginners or rented homes
- Less durable over time
Lifespan: Fixed dome (15–20 years), Floating drum (eight to 10 years), Flexi-bag (three to five years)
2: Gather the materials
Here’s what you’ll need to construct a basic home-scale biogas unit (700–1000 litres capacity):
- Airtight Tank (or digester body)
- Inlet pipe (for organic slurry)
- Outlet pipe (for digestate)
- Stirring rod/mechanism
- Biogas collection pipes
- Safety valves
- Storage bag or drum for gas
- Optional: pressure gauge, thermometer, pH strip, desulphurisation filter
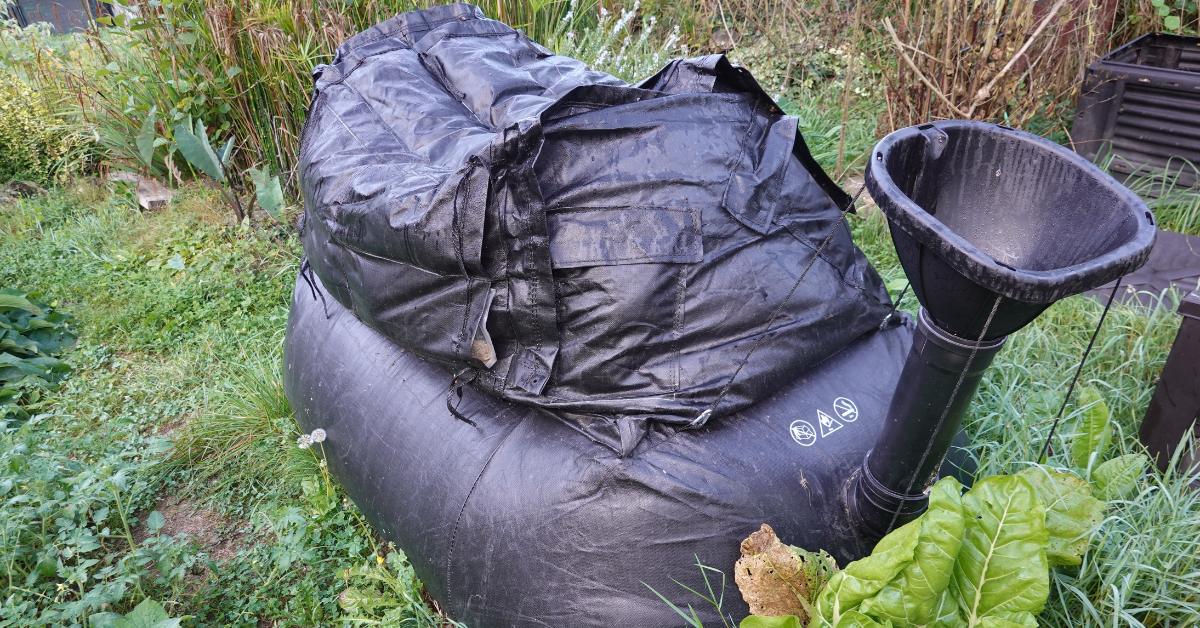
 Setting up a biogas plant helps you get rid of vegetable waste and produce energy at the same time. Picture source: Foodprint.com
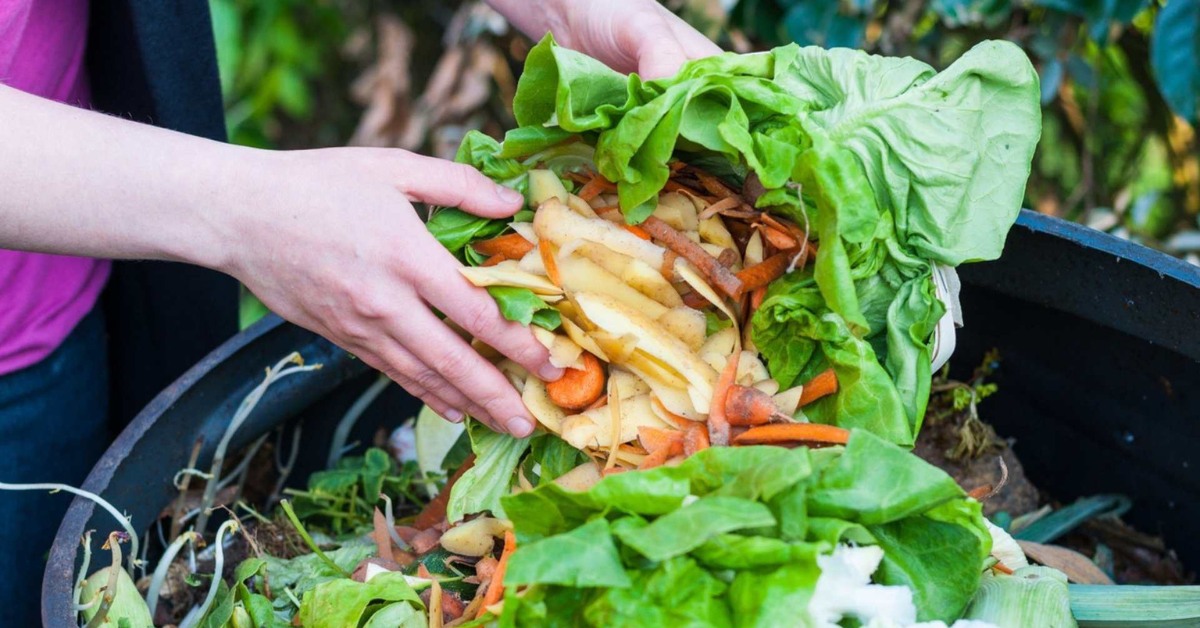
3: Start collecting organic waste
What works:
- Fruit and vegetable peels
- Cooked food leftovers
- Dung (cow, pig, poultry)
- Garden clippings (shredded)
What to avoid:
- Oils and fats
- Citrus or spicy leftovers in large quantities
- Plastic, metals, or synthetic materials
Pro tip: Chop or shred your waste and mix it with water (1:1 ratio) to create a smooth slurry.
4: Build and install the digester
- Choose a shaded spot near your kitchen or garden.
- Place the digester tank on a level base.
- Seal all inlets, outlets, and joints to ensure anaerobic conditions.
- Add your slurry through the inlet pipe.
Let the tank sit for about seven to 15 days. This start-up period allows methanogenic bacteria to activate. You might see little to no gas in this phase — that’s normal.
5: Monitor the conditions
- Temperature: Optimal range is 30–40°C. In colder climates, use insulation or greenhouse placement.
- pH level: Should stay between 6.5 and 8.0. Add water if it’s too acidic.
- Moisture: Keep slurry moist but not watery.
Regular stirring (once every few days) ensures even digestion.
6: Capture and store the gas safely
- Use flexible biogas-safe tubing connected to a balloon or drum.
- Add filters (like iron filings or limewater) to remove hydrogen sulphide and moisture.
- Store in a ventilated area away from open flames.
Tip: Monitor gas volume and pressure. If the drum rises or balloon inflates — it’s working!
 The leftover slurry is packed with nutrients. Use it directly as liquid fertiliser or dry it and apply it to the soil for better texture and water retention.
7: Use the biogas
- Connect to a biogas-compatible burner or stove.
- Check pipes regularly for leaks using soapy water (bubbles indicate a leak).
- Ensure your kitchen is well-ventilated when in use.
Biogas can also power generators with modifications, but for home use, cooking is the most accessible application.
Bonus: Make use of the byproduct
The leftover slurry — called digestate — is packed with nutrients. Use it directly as liquid fertiliser or dry it and apply it to the soil for better texture and water retention.
Cost and output estimates
- Cost: A basic DIY flexi-bag setup may cost Rs 3,000 to Rs 5,000. Fixed dome models can cost Rs 10,000 or more, depending on scale.
- Output: One kg of kitchen waste produces approximately 0.5 m³ of biogas, which is equivalent to 0.42 kg of LPG.
Setting up a biogas plant isn’t just about saving money — it’s about reclaiming control over your energy and waste. With the right setup and a bit of care, you can turn yesterday’s scraps into tomorrow’s fuel.
If you’re looking for a clean energy solution that works with your everyday lifestyle, this might just be the place to start.
Edited by Khushi Arora
News