How to Grow Chikoos at Home During Monsoon: A Step-by-Step Gardening Guide
Something is charming about growing your fruit trees, watching a tiny seed take root, gradually grow, and one day reward you with fresh and sun-kissed fruit, picked straight from your garden.
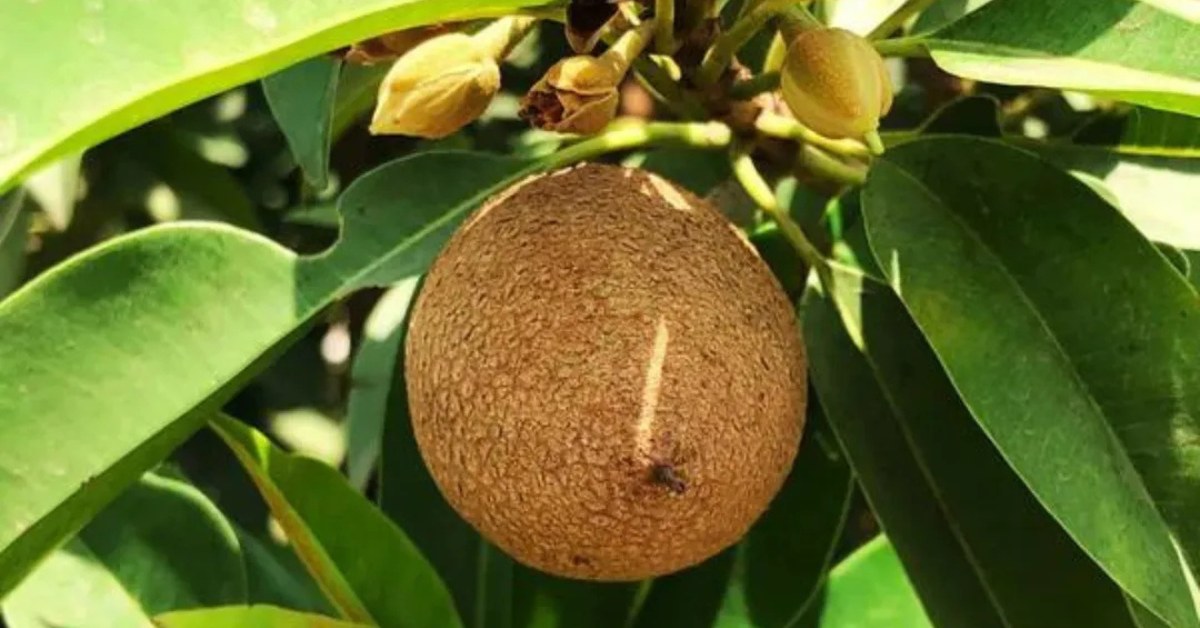
If you have ever savoured the sweet and grainy flesh of chikoo (also known as sapodilla), you will know why it is worth the effort. This tropical treasure, with its caramel-like flavour and velvety texture, can be surprisingly easy to grow at home, especially when the monsoon season brings the perfect combination of warmth and moisture.
Whether you are a seasoned gardener or just starting, this guide will walk you through everything you need to know to plant, tend, and eventually harvest chikoo right on your doorstep. So, get ready to get your hands a little muddy and start a deliciously rewarding gardening adventure:
1. Choose the right chikoo variety and planting material
Starting on the right foot means choosing a variety that suits your climate and garden space. Chikoo varieties such as ‘cricket ball’, ‘kalipatti’, and ‘colada’ are widely cultivated for their sweet fruit and robust growth.
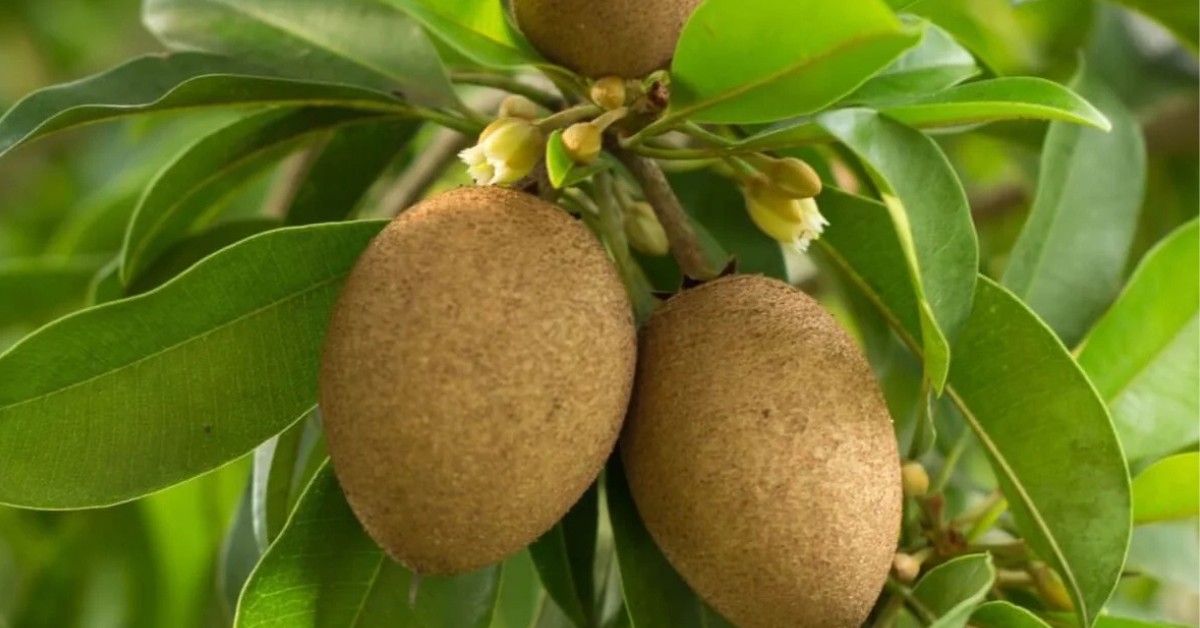 Choose a variety of chikoo that suits your climate and garden space for better growth; Picture source: Royals Plant
If you are planting from seed, remember that sapodilla is a slow grower and can take up to five years or more to bear fruit. However, seedlings often produce stronger root systems. Purchasing grafted saplings from a reputable nursery can speed up fruiting to about two to three years and usually results in better-quality fruit.
When selecting saplings, look for healthy plants that have bright green leaves without any spots or holes. Avoid plants with yellowing or wilting foliage, as these may indicate poor health or disease.
If planting seeds, make sure they are fresh, as older seeds lose viability quickly. Soaking seeds overnight in water can help soften the tough outer coat, encouraging quicker germination.
2. Find a sunny and well-drained spot for your chikoo tree
Chikoo trees flourish best in warm and sunny locations. Select a spot that receives a minimum of six hours of direct sunlight each day. This is crucial, as insufficient light can delay flowering and reduce fruit production.
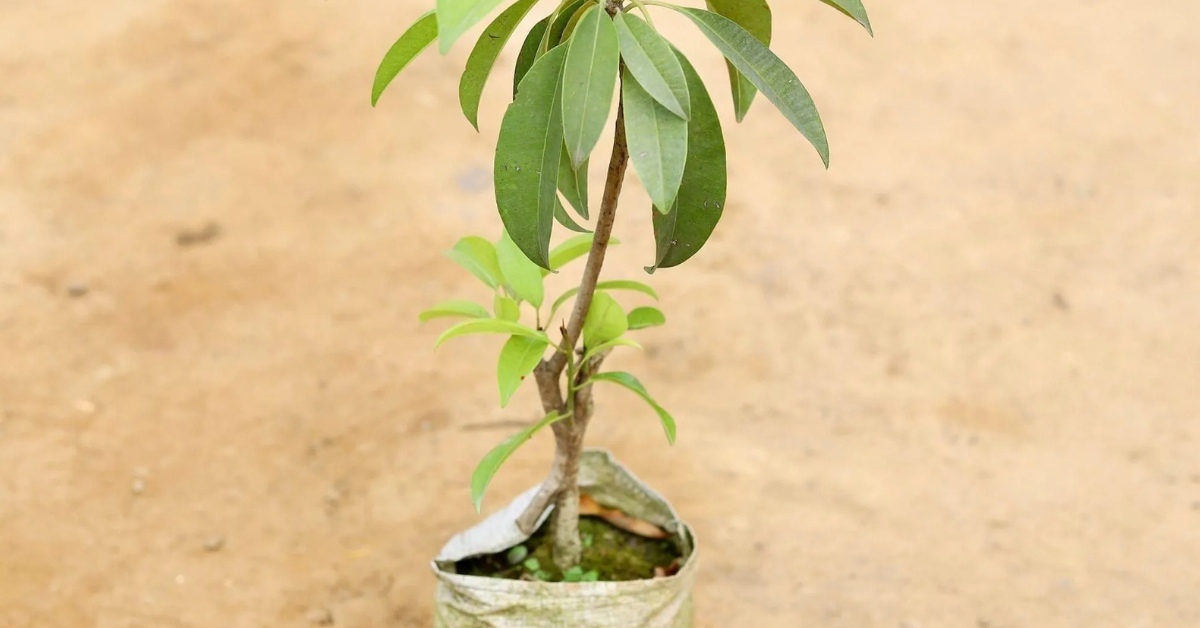 Make sure your chikoo plant receives at least six hours of sunlight every day; Picture source: Urvann
Equally important is soil drainage. Chikoo trees do not tolerate waterlogged conditions, which are common during the monsoon. Choose a site on a slight incline or create a raised bed if your garden soil tends to retain water. If drainage is poor, consider mixing coarse sand or gravel into the planting area to improve soil aeration and prevent root rot.
Also, make sure there is enough space around the planting site, chikoo trees can grow up to 10-12 metres tall, so leave at least four to five metres of clearance from walls or other large trees to avoid overcrowding.
3. Prepare the soil by enriching and loosening
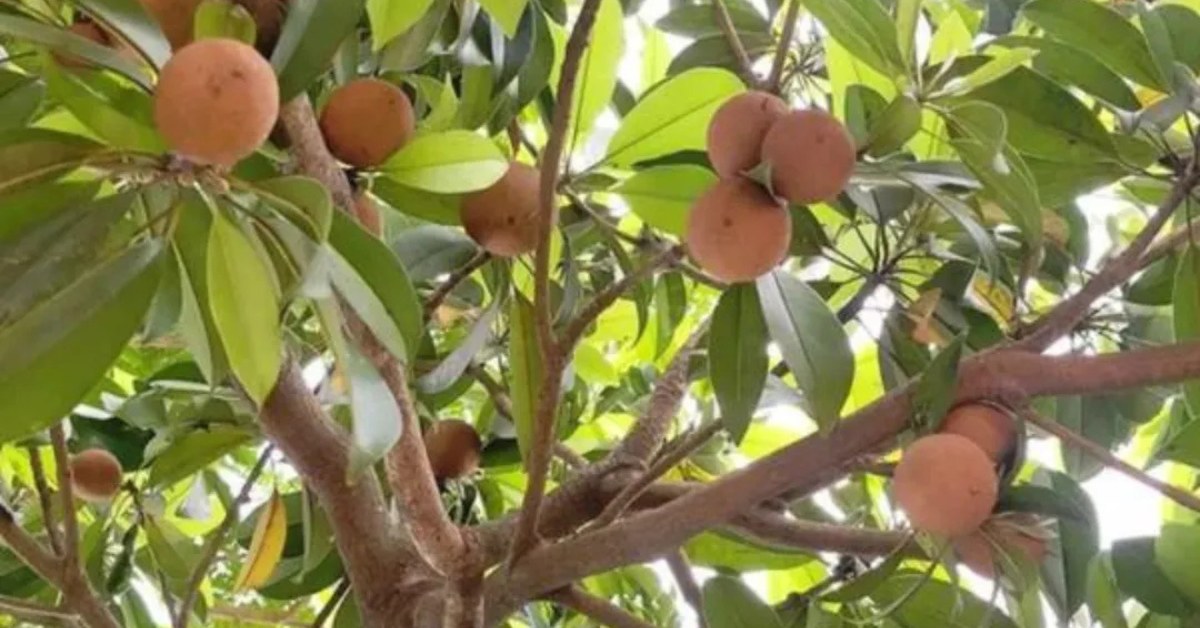
Preparing your soil properly is an important step often overlooked. Chikoo prefers slightly acidic to neutral soil. If you are unsure about your soil’s pH, get a testing kit from your local garden centre.
Dig a hole approximately 45cm deep and twice as wide as the root ball or seed planting depth. Loosen the surrounding soil to encourage root expansion. Mix in a generous amount of well-rotted compost or farmyard manure to boost fertility and soil structure.
This organic matter provides nutrients and improves water retention and drainage, both critical for young chikoo plants.
 Chikoo prefers slightly acidic to neutral soil, so make sure it is prepared accordingly; Picture source: Mahindra Nursery
If your soil is heavy clay, mix in coarse sand and organic matter to lighten it. For sandy soils, adding compost helps retain moisture and nutrients.
4. Plant your sapling or seed with care
When planting saplings, gently tease out roots that have become pot-bound to encourage outward growth. Place the sapling in the hole so that the root collar (where the roots meet the stem) is level with the surrounding soil surface. Backfill with the enriched soil, firming lightly but not compacting too much, as roots need air.
For seeds, plant them about two to three centimetres deep. Keep the soil consistently moist but not soggy, too much water can cause seeds to rot. Cover loosely with soil and water gently. Germination typically takes three to four weeks, sometimes longer, so patience is the key.
Mulching the planted area immediately with organic material like dried leaves or straw helps retain moisture and regulate temperature.
5. Water regularly, but avoid waterlogging
Watering chikoo during the monsoon requires a gentle hand. Although the rains provide plenty of moisture, monitor the soil to make sure it does not become waterlogged, as this can suffocate roots and lead to fungal diseases like root rot.
 Monitor the soil and make sure it is not waterlogged, or it can suffocate the roots of your chikoo plant; Picture source: Nursery Nisarga
For young saplings, water deeply once or twice a week if rainfall is insufficient. Avoid shallow watering, which encourages weak root growth. For seeds and seedlings, keep the topsoil moist with light watering every two to three days.
Use a watering can or drip irrigation to avoid splashing water on the leaves, which can spread fungal spores. Always water early in the day to allow foliage to dry before nightfall.
6. Apply mulch to maintain moisture and suppress weeds
Mulching is a gardener’s best friend, especially during the monsoon. Spread a five to seven centimetres thick layer of organic mulch around the base of your chikoo tree, keeping it a few centimetres away from the trunk to prevent rot.
Mulch reduces evaporation, conserves moisture, keeps the soil temperature stable, and prevents weeds from competing for nutrients and water. After heavy rains, fluff up the mulch to prevent compaction and allow better air circulation.
 Spread a five to seven centimetres thick layer of organic mulch around the base of your chikoo tree during monsoon; Picture source: Asia Farming
7. Keep pests and diseases at bay naturally
Chikoo trees are generally hardy but can be troubled by pests such as mealybugs, aphids, and fruit flies. Regularly inspect leaves and fruit for signs of infestation, look for sticky residue, curled leaves, or small insects.
Neem oil sprays work well as a natural pesticide and should be applied early in the morning or late evening. For fungal infections like powdery mildew or leaf spots, prune affected branches and improve air circulation around the tree. Using companion plants like marigolds nearby can help deter pests organically.
8. Feed your chikoo tree with balanced nutrition
Fertilise your chikoo tree every three months using a balanced NPK (nitrogen, phosphorus, potassium) fertiliser with equal proportions, such as 10-10-10. Nitrogen promotes healthy leaf growth, phosphorus supports root and flower development, and potassium aids fruit formation.
For organic gardeners, apply well-rotted manure or vermicompost in place of chemical fertilisers. Apply fertiliser evenly around the drip line (the area beneath the outer branches) to encourage outward root growth, and water thoroughly afterwards. Avoid over-fertilising, which can lead to excessive foliage but poor fruiting.
9. Prune your tree to encourage healthy growth and fruit
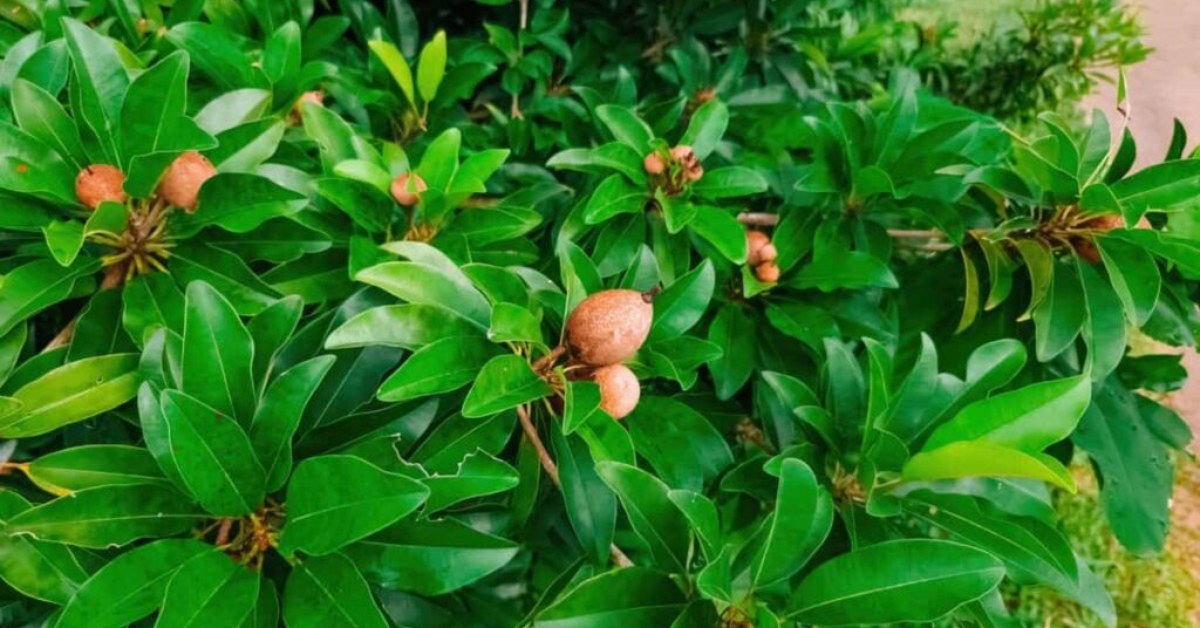
When your tree is two or more years old, begin pruning lightly during dry weather. Remove dead, diseased, or crossing branches to improve airflow and light penetration, which reduces fungal problems and encourages flower buds.
 When your tree is two or more years old, begin pruning lightly during dry weather; Picture source: Nursery Nisarga
Shape the tree by cutting back overly vigorous shoots to maintain a manageable size and promote fruiting on the more mature branches. Avoid heavy pruning during monsoon as wet conditions increase the risk of infection.
10. Harvest your chikoo at peak ripeness
Chikoo fruit does not fully ripen on the tree, so watch for fruits that are dull brown and slightly soft to the touch. When the fruit yields to gentle pressure, it is time to pick.
Use sharp pruning shears or scissors to cut the fruit carefully to avoid damage. Once harvested, allow the fruit to ripen at room temperature for a few days until it becomes sweet and fragrant.
Growing chikoo at home during the monsoon is a fulfilling endeavour. With the right variety, care, and a bit of patience, you’ll soon enjoy homegrown chikoo. Each step in this journey, from seed or sapling to fruit-laden tree, connects you to nature’s rhythm and the simple joy of watching life grow.
Edited by Vidya Gowri
News