Why Amaranth Belongs in Your Home Garden (And How to Grow It)
Amaranth has the magical ability to replace rice, couscous, and even pasta, blending seamlessly into meals around the family table. Its adaptability doesn’t stop there. Substituting seamlessly for rice, couscous, or pasta, amaranth proves its worth in hearty meals.
From enhancing the richness of soups that warm the soul on a cold winter morning to bringing an appealing texture to salads, and energising smoothies that fuel morning routines, amaranth finds a way to enrich every culinary tale.
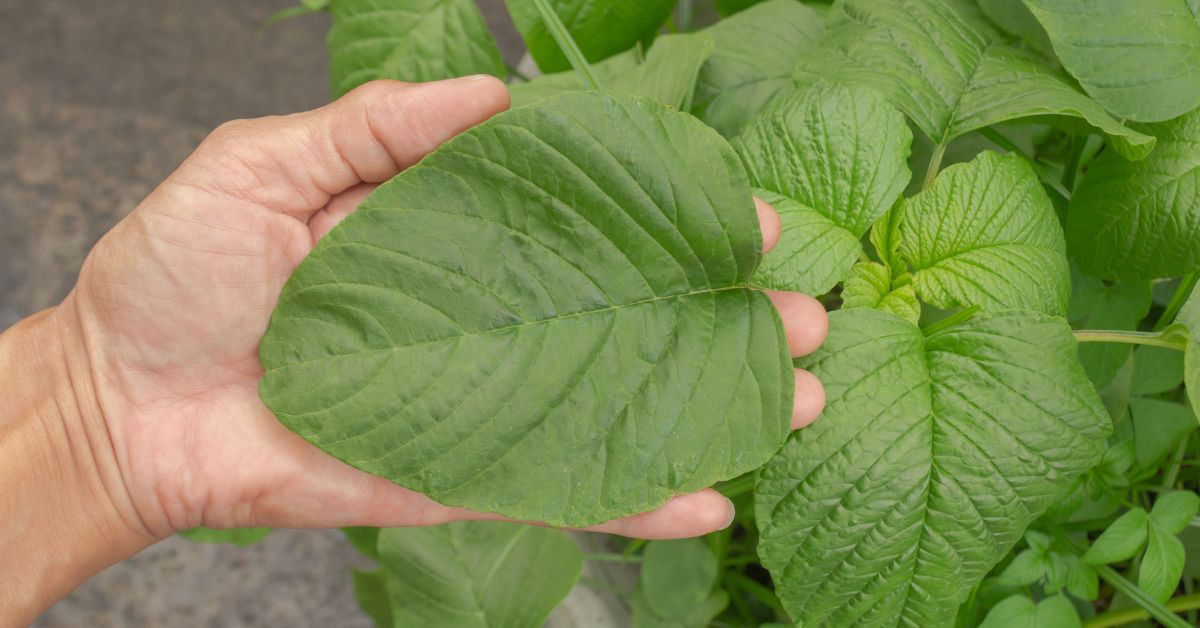
Yet, it isn’t only the grain that holds powers; its leaves are mighty in their own right.
Packed with a treasure trove of vitamins, minerals, and antioxidants, they offer health benefits aplenty to those who welcome them into their lives.
And the best part? Beyond their nutritional profile, these leaves have a practical appeal — they are relatively simple to cultivate at home.
Here’s a step-by-step guide to growing your own amaranth at home
1. Select a sunny location
Amaranth flourishes in full sunlight. Choose a spot that guarantees at least six hours of sunlight each day. The plant prefers well-draining soil. Enhance it with compost or balanced fertiliser for optimal nutrient supply.
2. Seed sowing and transplanting
Plant seeds directly outdoors, spacing them roughly four inches apart, and cover lightly with soil. For transplanting, begin indoors six to eight weeks before the last frost and move outside once the soil is warm, placing them 12 inches apart.
 While harvesting, either pick individual leaves or trim the whole plant to promote new growth from side shoots.
3. Seedling thinning
Once seedlings reach four-six inches, thin them to allow adequate space for mature growth.
4. Watering requirements
Provide amaranth with consistent moisture, particularly in dry periods. However, avoid excessive watering to prevent root rot.
5. Soil fertilisation
Boost plant growth by adding a nitrogen-based fertiliser or manure to the soil.
6. Mulching and weed management
Maintain a weed-free zone around the plants to minimise resource competition. For this, apply mulch around plant bases to help retain soil moisture, which also controls weeds.
7. Harvesting leaves
Begin harvesting the leaves around three weeks from sowing, when the plant reaches four-six inches. Either pick individual leaves or trim the whole plant to promote new growth from side shoots.
8. Companion planting benefits
Pairing amaranth with corn can enhance water retention and aid in managing weeds.
9. Pest and disease resistance
Although amaranth is generally robust against pests and diseases, it is prone to fungal issues if conditions are too damp. Avoid overwatering and ensure good airflow around plants by spacing them adequately and pruning excess foliage. This helps reduce humidity and prevents fungal spores from easily spreading.
10. Variety of choices
Explore different types of amaranth, some cultivated for leaves and others for their seeds.
This summer, relish meals by growing your amaranth plant. Happy gardening!
News