Your First Step into Farming: Grow Microgreens at Home with Just a Tray, Water & a Bit of Sunlight
If you are looking to grow fresh and healthy food at home, microgreens are the perfect choice. These tiny, nutrient-packed plants grow quickly, take up minimal space, and are bursting with vitamins and antioxidants. Whether you are interested in adding them to your meals or starting a small business, they offer an easy and rewarding way to embrace sustainable living.
Sujata Agarwal, a gardener from Jharsuguda, Odisha, turned her love for plants into a successful business by growing hydroponics and microgreens.
Here is a step-by-step guide for anyone eager to start their own microgreens farm, offering insights based on the gardener’s journey from hobbyist to entrepreneur.
Step-by-step process to start microgreens farming
1. Choose your seeds
The first step in starting your microgreens farm is choosing the right seeds. Sujata suggests starting with seeds that are easy to grow and widely available, such as mustard, radish, sunflower, and basil.
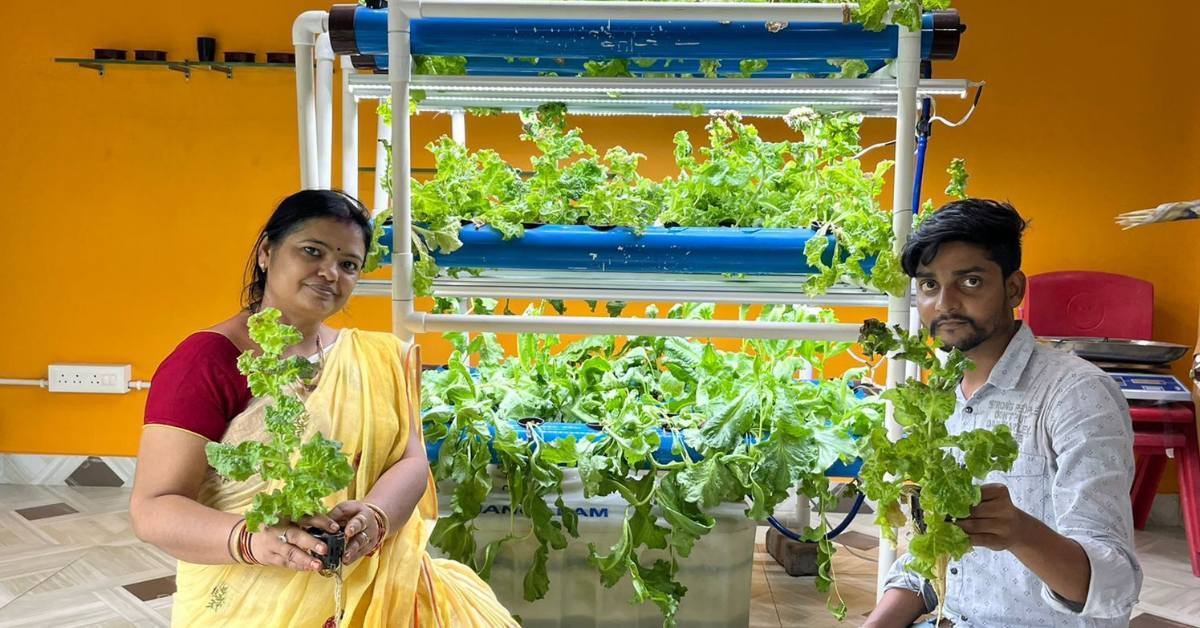 Sujata Agarwal, a gardener from Jharsuguda, Odisha, runs a successful microgreens business
When selecting seeds, it is important to consider what will grow well in your local climate and the space you have available. Popular microgreens such as arugula, kale, and pea shoots are known for their fast growth and high nutrient content. Opting for organic and non-genetically modified organisms (non-GMO) seeds is a good choice for those looking to make sure their produce is as healthy and sustainable as possible.
2. Prepare your growing containers
Microgreens don’t require large amounts of space, making them perfect for small-scale farming. You can use shallow trays or containers with drainage holes to allow excess water to escape and prevent mold growth. Sujata provides training sessions to those who want to learn how to grow these superfoods in small pots.
If you are using a tray, make sure it has a depth of around two to three inches for the roots to grow. You can also repurpose household items such as plastic containers or wooden boxes. The key is checking good drainage and avoiding any containers that could trap too much water, which can harm the roots.
3. Add soil or grow medium
For the growing medium, you can either use soil or go soil-free, depending on your preference and availability. You can opt for nutrient-rich, soil-free pots, but for beginners, it is recommended to use a good-quality potting mix that drains well. Soil should be moist but not soggy, as excess moisture can lead to mold and root rot.
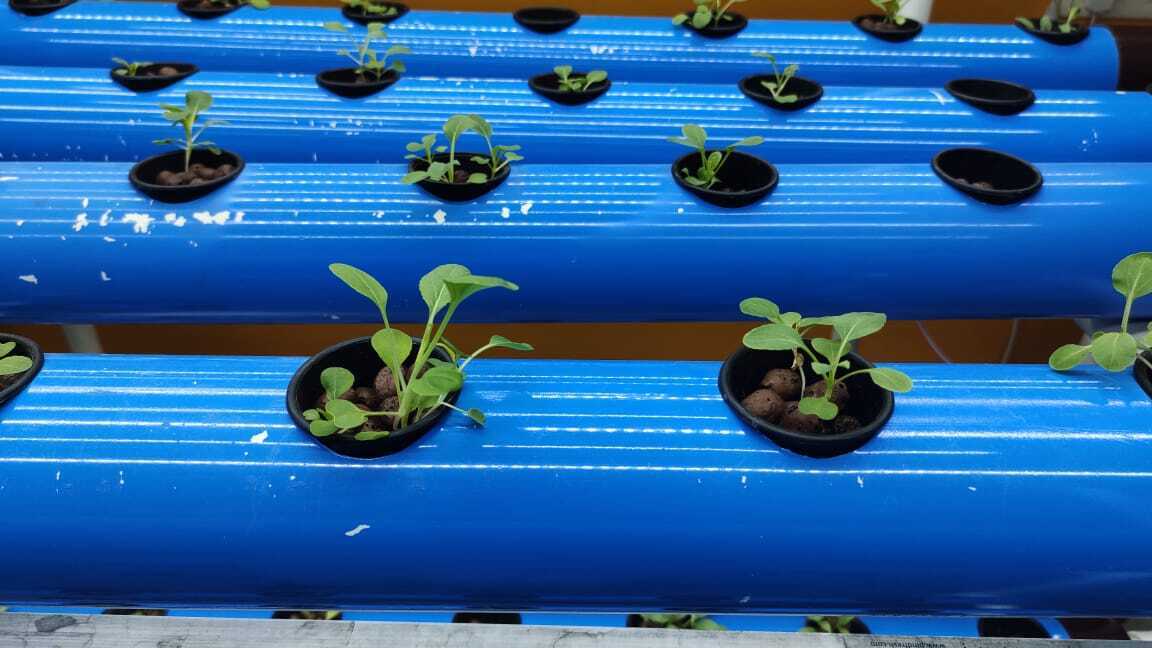 You can opt for nutrient-rich and soil-free pots to start your microgreens farming
Another popular alternative is coconut coir or a peat-based mix, which is light, free-draining, and retains moisture well. Just be sure to fill your container evenly with the medium, pressing it down lightly to create a solid base for your seeds.
4. Sow the seeds
Now comes the fun part, sowing your seeds. The key to a successful microgreens harvest is not to overcrowd the seeds. Microgreens don’t need to be buried deep in the soil, but they do need enough space to germinate and grow strong. Lightly press the seeds down into the soil with a flat object like a board or another tray to ensure good seed-to-soil contact.
5. Watering
Watering is one of the most crucial aspects of growing microgreens. Sujata advises maintaining a balance, as microgreens require regular watering to keep the soil or growing medium moist, but too much water can damage the seedlings.
The soil should be damp, but not soggy, and it should never dry out completely. A gentle spray bottle or watering can with a fine nozzle can help you water your microgreens without disturbing the delicate seedlings. Keep the moisture level consistent, as fluctuations can cause uneven growth or even cause the seeds to fail.
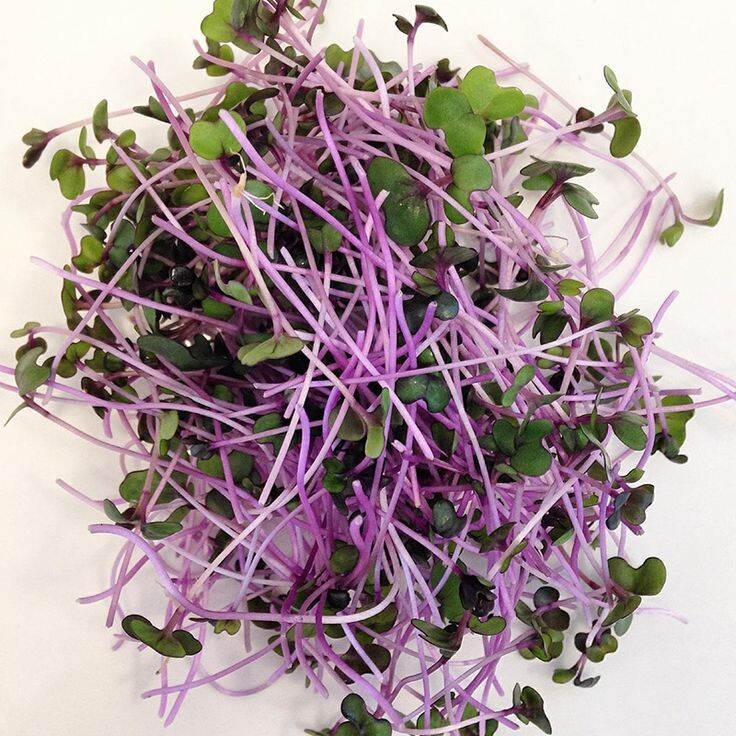 Sujata suggests waiting for a week for the microgreens to grow to a good size before harvesting
6. Provide proper light
Microgreens require plenty of light to grow properly, and this is especially true if you are growing them indoors. If you are growing indoors, make sure they receive at least four to six hours of indirect sunlight daily. If you don’t have access to enough natural light, a simple grow light can be used to provide the necessary illumination.
Make sure to keep the light a few inches above the growing microgreens to encourage healthy and tall growth. The key is to maintain a consistent light schedule, ideally 12-16 hours of light per day, followed by 8-12 hours of darkness, to mimic natural light conditions.
7. Harvesting
The final step is harvesting your microgreens. Sujata suggests waiting for a week for the microgreens to grow to a good size. Be careful not to pull the plants out by hand, as this can damage the roots and prevent new growth.
Microgreens are best harvested when they are young and tender, at around two to three inches tall, depending on the variety. After harvesting, you can use them immediately in salads, smoothies, or as garnishes, or store them in the fridge to enjoy later.
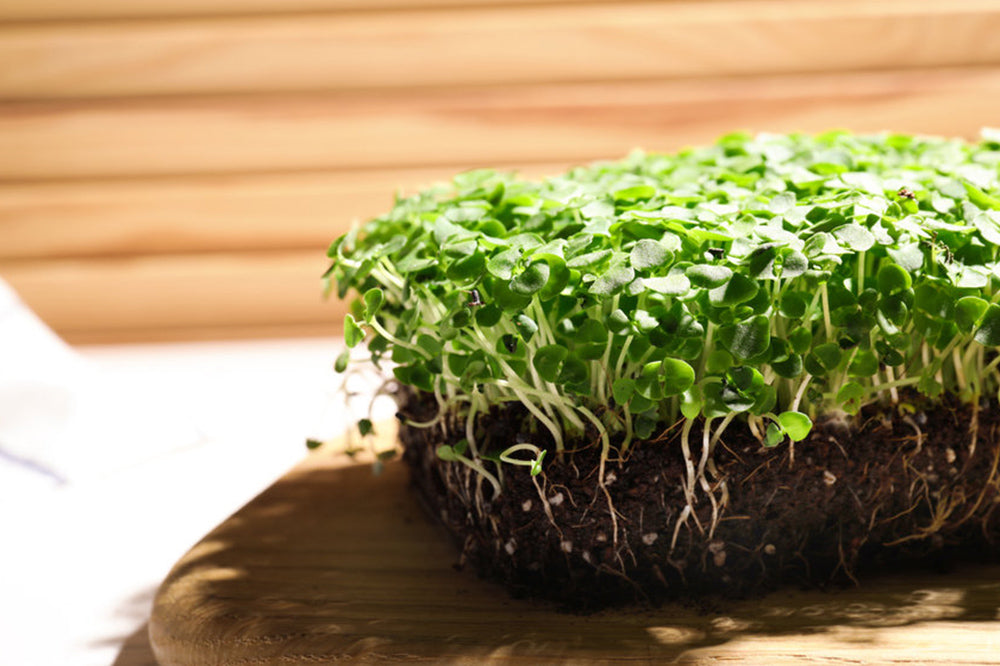 After harvesting, you can use the microgreens in salads, smoothies, or as garnishes; Picture source: AllThatGrows
Important points to keep in mind
- Quick growth: Microgreens grow incredibly fast, often reaching harvest size in just seven to 10 days. This makes them ideal for beginners and those looking for a rapid return on their effort.
- Nutrient-rich: Microgreens are packed with essential vitamins, minerals, and antioxidants, making them a healthy and flavourful addition to any diet.
- Low Maintenance: Sujata describes microgreens farming as low-maintenance. With minimal space and time required, they are a great choice for people with busy lifestyles or limited growing space.
- Start Small: If you are new to farming, start with a small setup and gradually scale up as you gain confidence and experience.
Edited by Vidya Gowri Venkatesh
News